
Guide – How to Use a Car Jack Safely?
Why do I need to know how to use a car jack safely?
There are many reasons why you might need to lift your car. Change a tire perhaps, your wheel needs to be off the ground, to change your oil. Depending on your vehicle you may need to jack your car to get access to the sump plug.
No matter what type of jack you use (see here for jack types) there are some important steps you should know to ensure you lift your vehicle safely. This will prevent damage to your vehicle, your jack, and most importantly you!!
Now there is one point I need to stress before we get into the article. NEVER should you ever place any part of your body under a vehicle that is solely supported by a jack. If you plan to do any work under your car you must support it with jack stands.
How to Jack up a Car Safely
1. Park on a Hard Level Surface
Jacks and jack stands work vertically to lift your car. Jacking up a car on a slope can result in your vehicle slipping off your jack or stands. Just as the soft ground could give way under your jack and stands.
Both are scenarios you seriously want to avoid. Always park on a hard-level surface like your garage.
2. Chock the Wheels
Before lifting your vehicle place the transmission in Park or 1st gear and put on the parking brake.
You should chock the wheel opposite to where you plan to lift. You should also chock in front and behind the wheel to prevent the car from rolling forwards or backward.
Wheel chocks come in many materials: plastic, rubber, wood, metal. Rubber wood and plastic tend to work better as they grip the ground better. Please avoid bricks as they can crumble and slide.
If you plan to do a lot of work on your car I’d invest in some rubber chocks which are cheaper than what you’d think.
3. Jack Points on a Car
Where are the lifting points on my car? Each manufacturer will have suggested jacking points to safely lift your car. This is usually found in your owner’s manual. If you don’t have a manual I recommend buying one or you might find one for free here
You should also be familiar with the safety instructions for your jack and jack stands. Remember to ensure your jack is rated to lift at least half the weight of your car.
It’s important to jack your car from a rated point as these are designed to support your vehicle’s weight. Jacking from the wrong location can result in serious damage.
Usually, you’ll have a lifting point near each wheel these are sometimes called “pinch welds” and can be marked for your scissor jack to go in a breakdown. You can also buy an adapter for your floor jack to prevent bending of these. Depending on your vehicle the differential or front crossmember can be used to lift two wheels at a time if using a floor jack. Refer to your manual.
Do not lift your car from a non-structural point including the steering rack, radiator, oil pan, or floor. Jacking on these will result in damage to your car.
4. Jack up the Vehicle
If you’re planning on removing your wheels now is a good time to slightly loosen each lug nut. This will help to remove the nuts when the wheel is in the air as the wheels can spin once in the air.
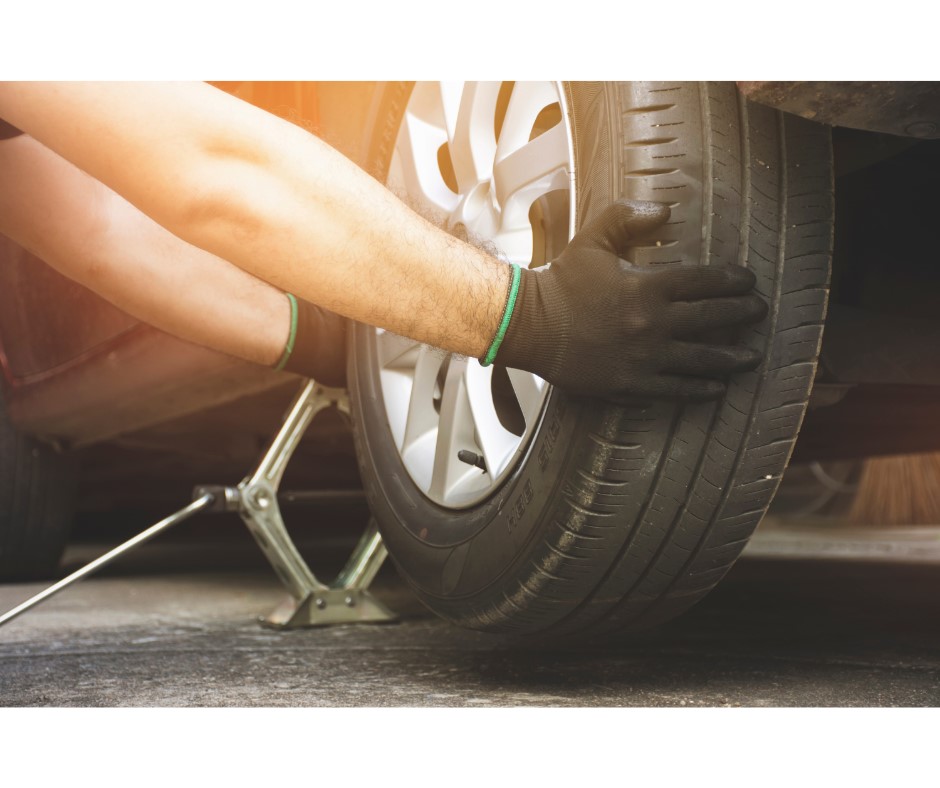
Depending on what type of jack you are using (refer to your Jack’s instructions) turn the screw for a scissor jack or close the relief valve and pump the handle for a floor jack/bottle jack.
Start by raising the jack under your car’s lifting points. Just before you take the weight of the car double-check your jack is still in the right location. Sometimes it is hard to judge until the jack is at the same height as the vehicle.
Continue turning or pumping the jack until you get to your desired height. No need to max out your jack. If at any point something doesn’t feel or sound right, stop and slowly lower the vehicle to find out the cause.
Once your car is in the air, continue to the next step.
5. Lower Car on to Jack Stands
If you’re only changing your tire in a breakdown this step isn’t necessary. Jump to step 6. Just remember to NEVER place any part of your body under the vehicle while it is supported on the jack.
As with your jacking points above your manual should show your rated points to position your car jack stands. These are usually your car’s chassis frame. If you have two wheels off the ground you should use a pair of jack stands. Ideally set to the same height.
Once your stands are in the correct position slowly lower your car onto the stands. Either by turning your scissor jack screw counter-clockwise or by opening your hydraulic relief valve. Before completely lowering the jack ensure your stand or stands are stable and fully supporting your vehicle.
A practice I sometimes use if I don’t need to use the jack in another location is I’ll leave the jack just off touching the car for an added safeguard.
Before getting under your vehicle you should conduct a safety check by attempting to rock the car. Pay close attention to any unwanted movement. You want to be completely satisfied that your car is stable before getting under a couple of tons of vehicle.
6. Lowering the vehicle
When you have completed your work on the car it’s now time to safely lower and remove your jack and stands.
If your car is on stands ensure your jack is under your rated jacking point and raise your jack high enough to lift your car off its stand.
Proceed to slide the stand from under the vehicle. Before lowering, have one last visual look that you haven’t left anything under your vehicle like a drain tray.
Slowly open the hydraulic relief just enough for your car to begin lowering. Avoid going too fast; you only need to crack the valve open. Alternatively, turn your scissor jack counterclockwise to lower your vehicle.
Once your car is back on the ground, fully lower your jack and remove it from under the vehicle.
If you replaced your tire now is the time to fully torque your lug nuts. It’s always a good idea to check all the wheels lug nuts even if a tire shop has replaced your wheels.
7. Removing wheel chocks
You may notice your car may look higher on one corner; this is usually caused by the suspension being unable to settle due to the parking brake being on and or the wheel chocks in place when lowered.
This is solved by removing the loose wheel chock. Leave the chock that is tight for now.
Next jump into your car and with your foot on the brake release the parking brake and place the transmission in neutral.
Release the foot brake and you should feel your car settle back down. Once completed put the parking brake back on and the transmission into gear.
Finally, remove your last wheel chock which should now be loose.
Closing comments
You have now safely lifted your car, placed it on stands and, lowered it back to the ground.
Check your jack, chocks and, stands for any leaks or damage. Damaged equipment shouldn’t be used again and should either be repaired or replaced.
Hopefully, you take confidence out of this and you have successfully completed the work on your car. There’s a certain feeling you get when you repair, replace or maintain something yourself.
Check out my guide if you are wondering what type of jack will best suit your needs.
History of the Floor Jack - Floor jack reviews
[…] Click here to learn how to use a floor jack safely. […]